Saved from scrap?
Hello and welcome back!
This post is all about the third lawn mower I've bought to fix up and it's the biggest project to date.
The Rover Briggs & Stratton lawn mower show below is an experience not to be forgotten. I've bought this mower from a guy in Springvale for $30 AUD. There was no cable for the starter so I couldn't give it a test run but I've checked the oil, spark plug and even petrol but there's no indication of serious mechanical troubles. Other than that, the handle bars appeared rough as and the knobs that go with it have seen better days.

And then, here are some goodies.

In this picture, we have on the right is the starter that has been repaired. Beside it is a new spark plug, new handle bar knobs, a pack of zip ties and rivets which'll be used to attach the air box back onto the handle bar.

Another set of tools to the trade are the jerry can and a fluid exchange syringe. It'll be useful to extract old stale petrol out of lawn mowers without any hassle of draining out the tank in any way possible. Here's the example.

Once that's done along with the oil change, spark plug replacement and the fitment of the repaired starter, the engine blew smoke until it cleared up. Next up, another new thing in terms of repairs is painting parts.

Here, we have a range of spray cans of paint along with methylated spirits for cleaning surfaces and an abrasive hand pad to sand off rough services prior to painting.
The paints consist of primer, chrome paint for the handle bars and high temperature aluminium paint for the muffler. Later, I also got myself a can of subframe black paint.
Next up, I needed to take apart some more components.

So parts of the handle bars, the muffler and the blades and plate have been removed although it's really hard work but I got there. And that brings another tool for my trade.

This ladies and gentlemen is a Ryobi cordless drill capable for more hard yakka stuff such as sanding rough services with a wire brush. And another thing, the blades needed replacing.

So then, the priming began. I've used regular primer which is alright apart from getting inconsistent spraying until I've bought myself an Omega branded etch primer from Repco and it's the bomb. It means it works really well.

Once priming is done, it's time for the painting. Here, I've painted the handle bars in chrome with a few good layers and then, the plate in subframe black paint. What's worth noting for anyone who hasn't used spray paints before is to not fully cover the surface you're painting on.
You paint gradually so do it layer by layer. Not too thick but nice thin layers. Once the paint gets dry, you apply another coat of paint and the end result would look good and you shouldn't see as much thick runoff.
But with the painting done, it was time for reassembly. There were times bits have been awkward but at the end of the day, the lawn mower repairs are complete.

And now, this lawn mower will be ready for sale. But before I close off, I'll show you some bits and bobs.
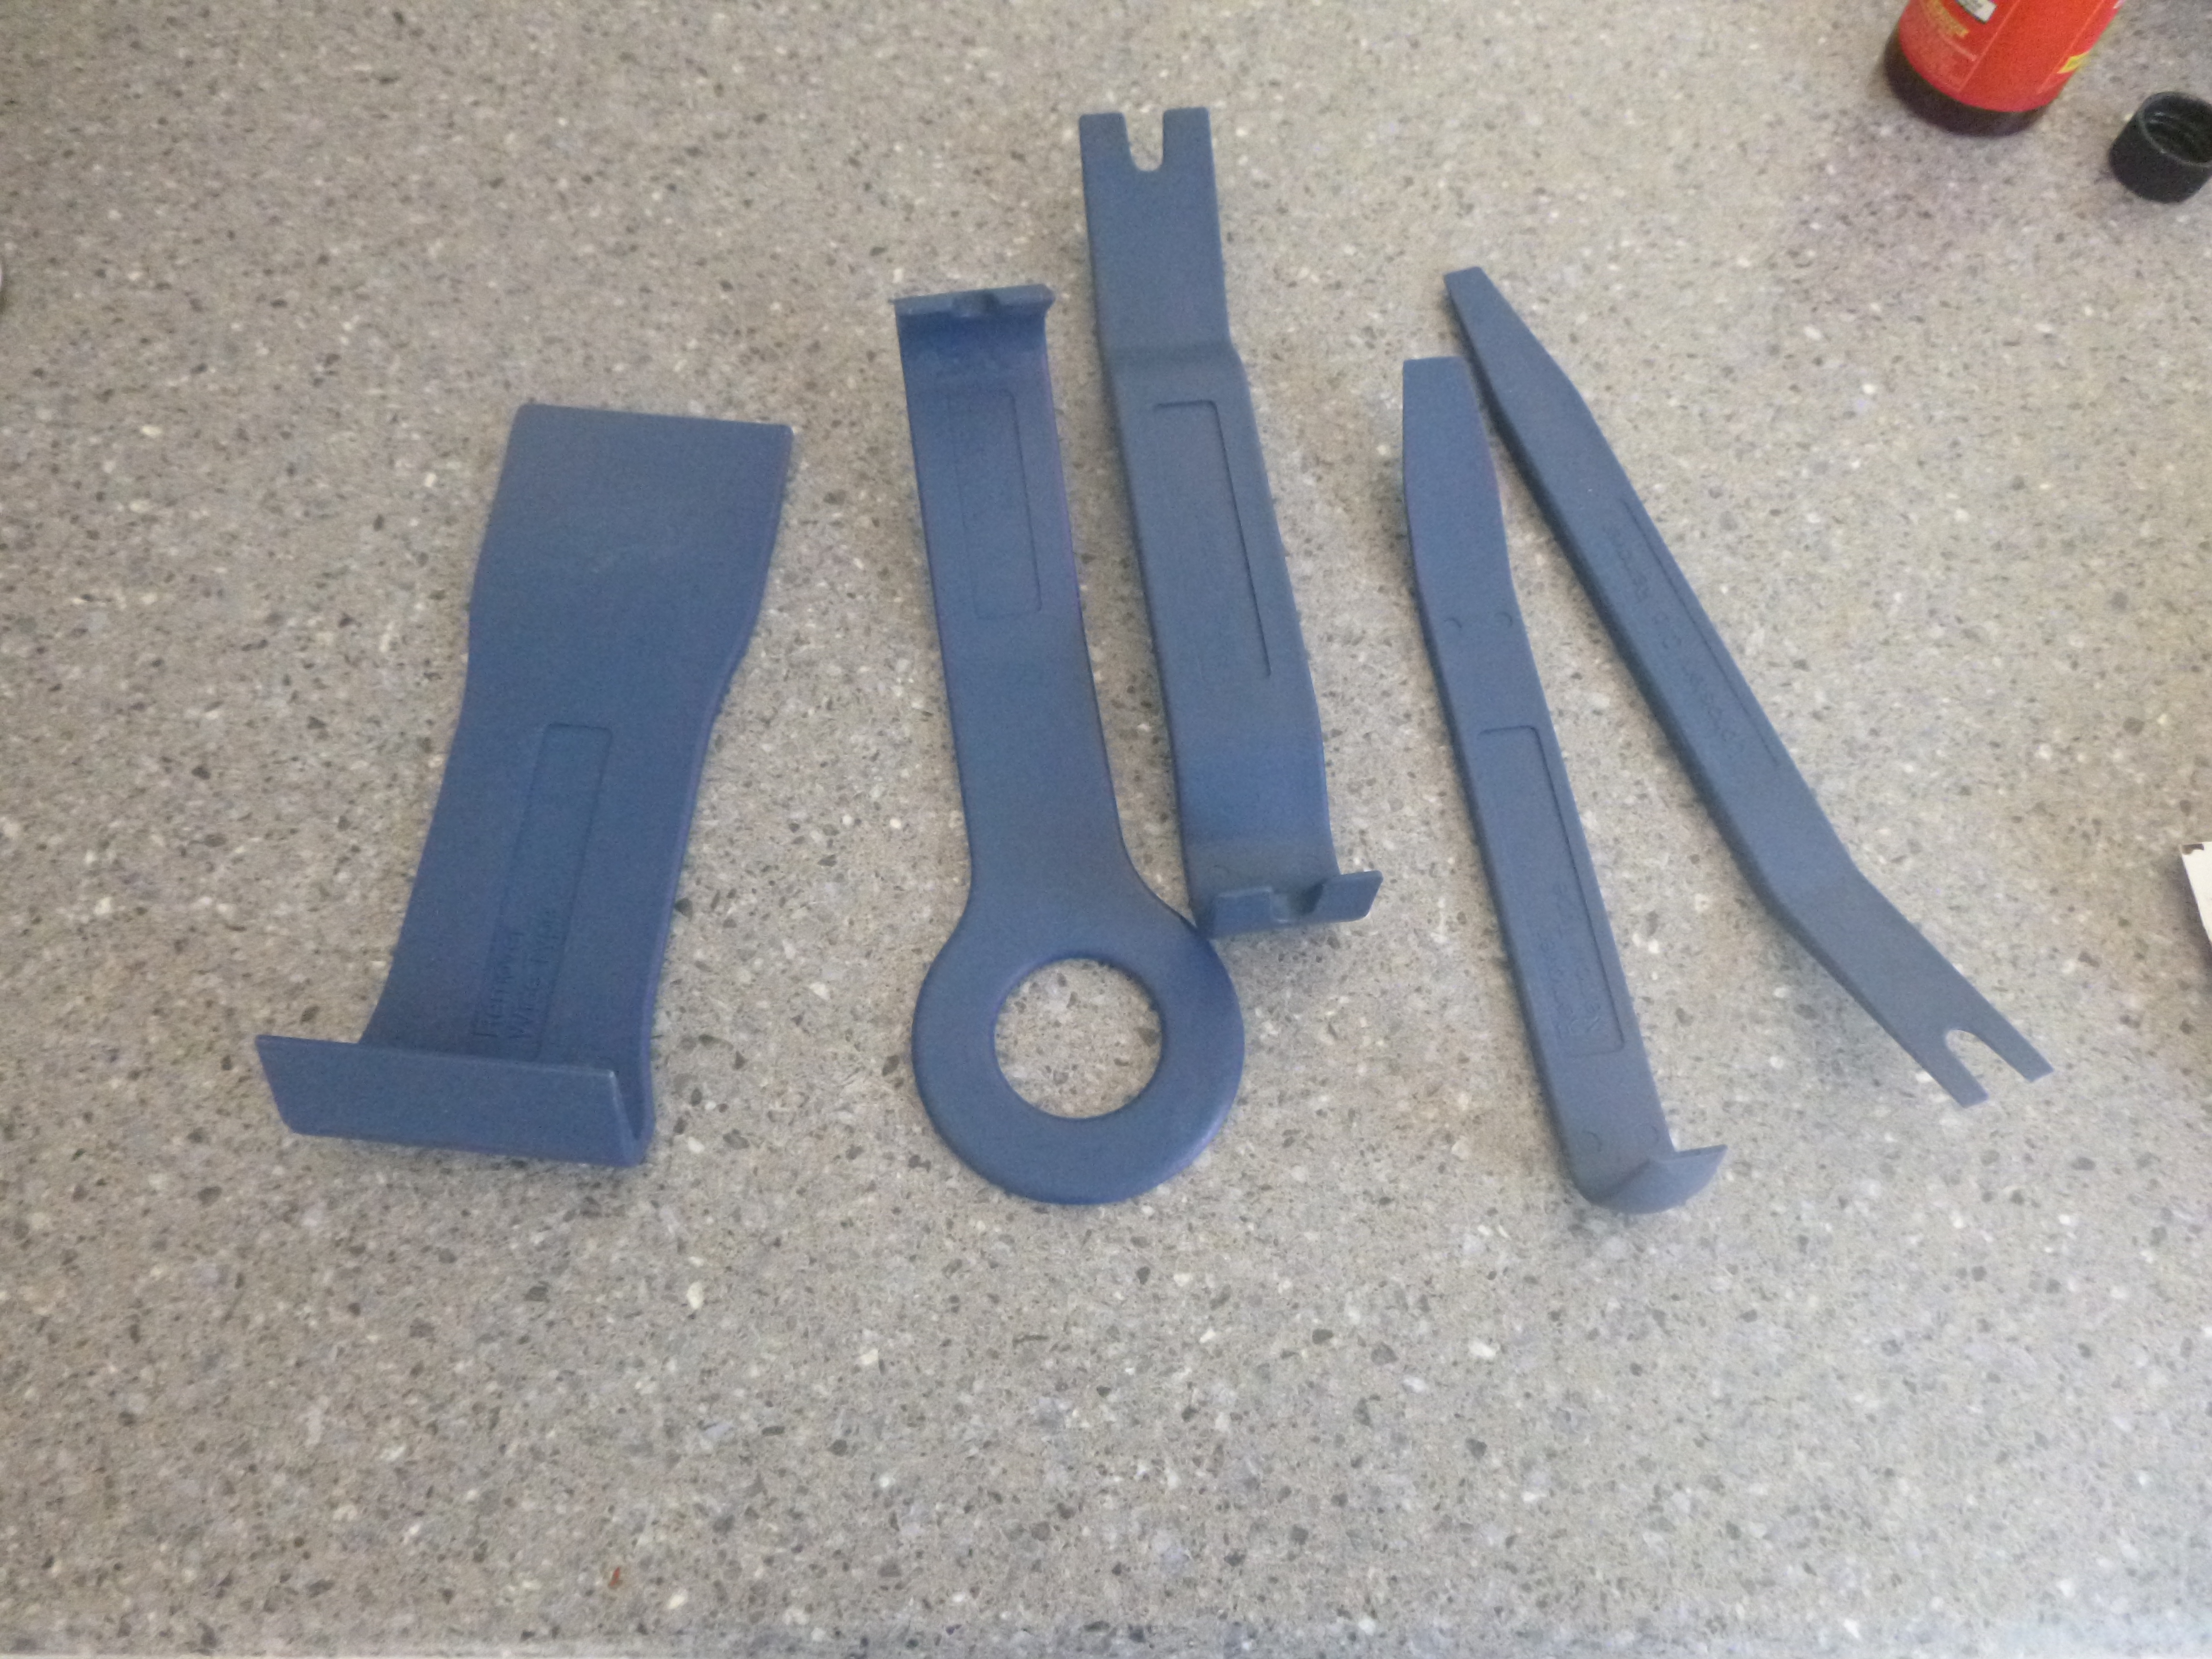
Here are some trim piece removing tools.

And this is my stash chest. Originally, it was a package for a clutch kit I was disposing at work after a warranty claim. The clutch plates were burnt badly but I kept it after trying to decide to throw this out or keep it. I use this to keep more bits and bobs for anything.
See you next time!


Comments
Post a Comment